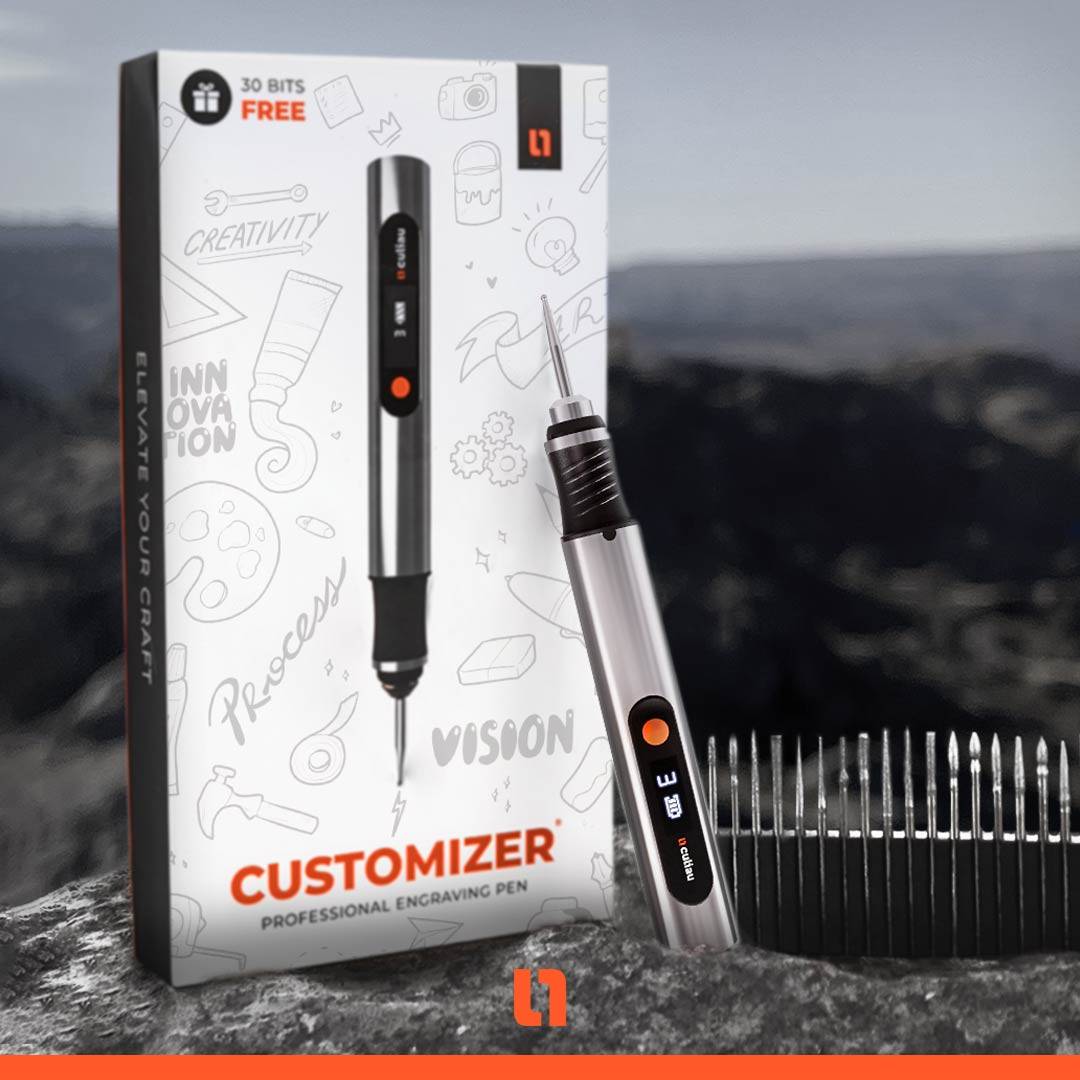
Let’s start with the basics… WHAT’S IN THE BOX?
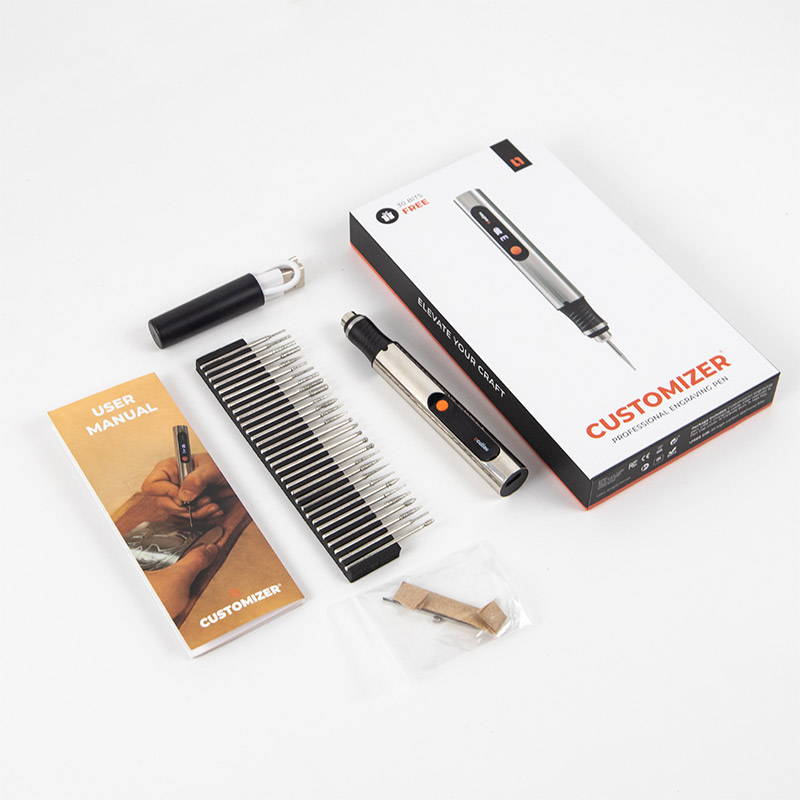
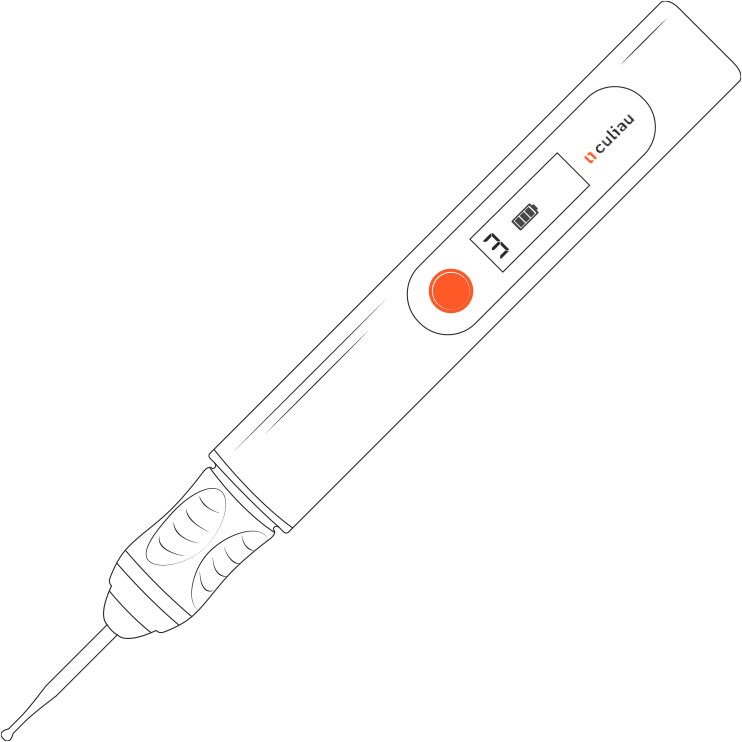
- Customizer Engraving Pen with LCD Display
- USB Type C Charging cable
- Hex key
- User Manual
- Set of 30 diamond bits
WHERE TO ENGRAVE?
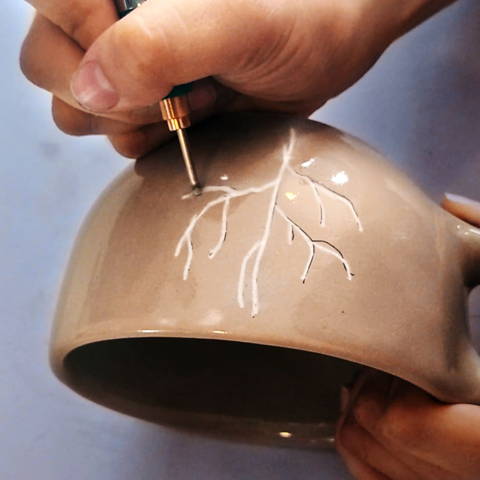
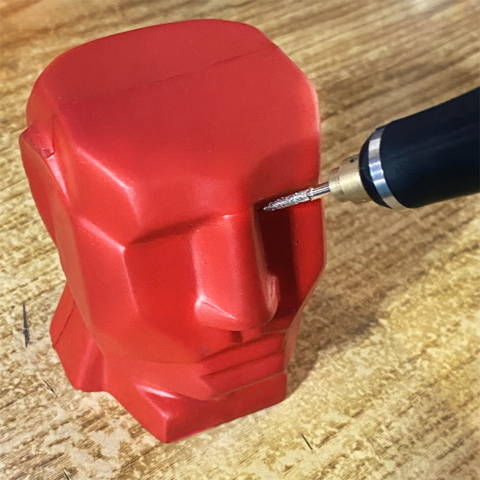
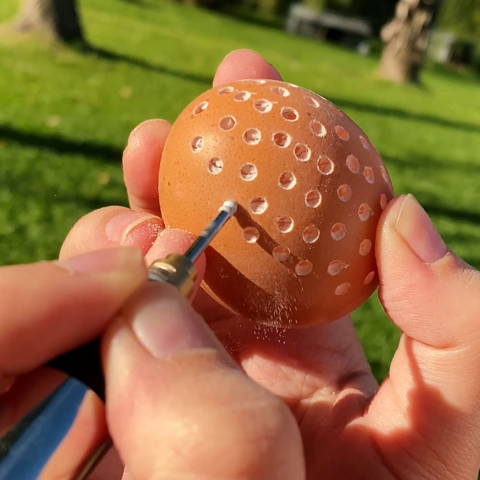
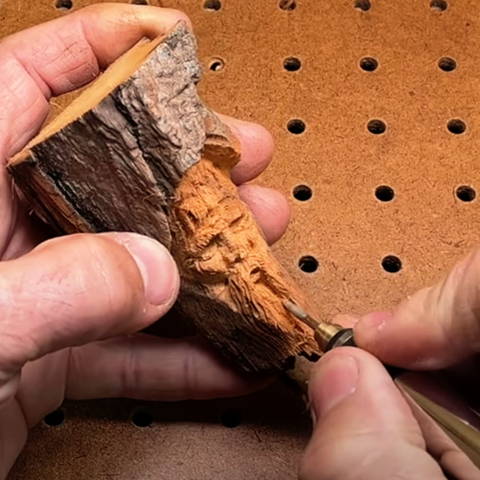
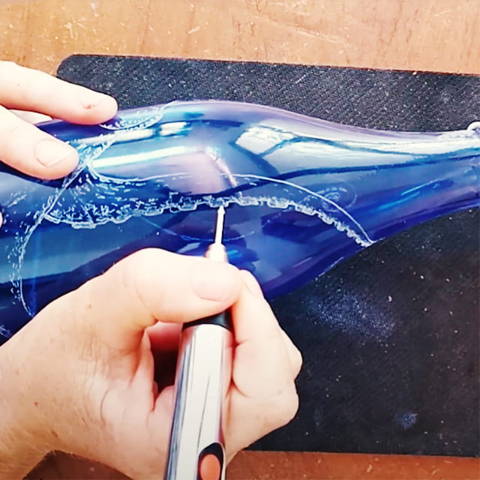
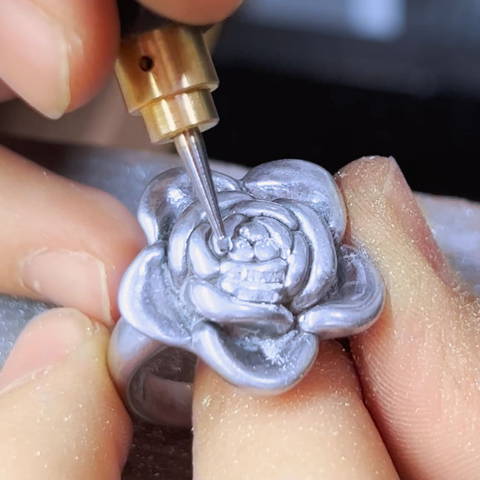
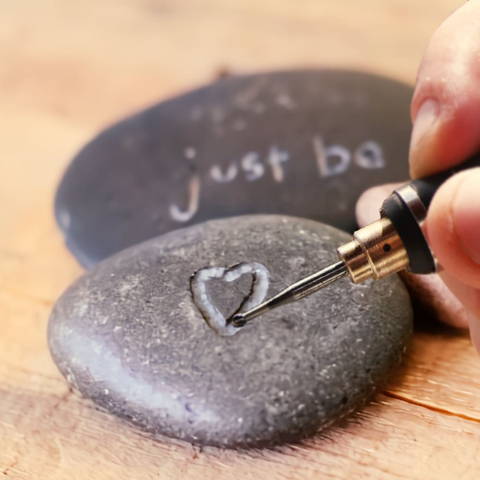
Once your engraving pen is fully charged, it’s time to choose which material to engrave.
There’s no limit to what you can engrave with this tool, because there are +50 materials you can use the Customizer on.
Some examples are:
 |
 |
 |
 |
 |
 |
 |
 |
 |
WHAT ABOUT THE BITS?
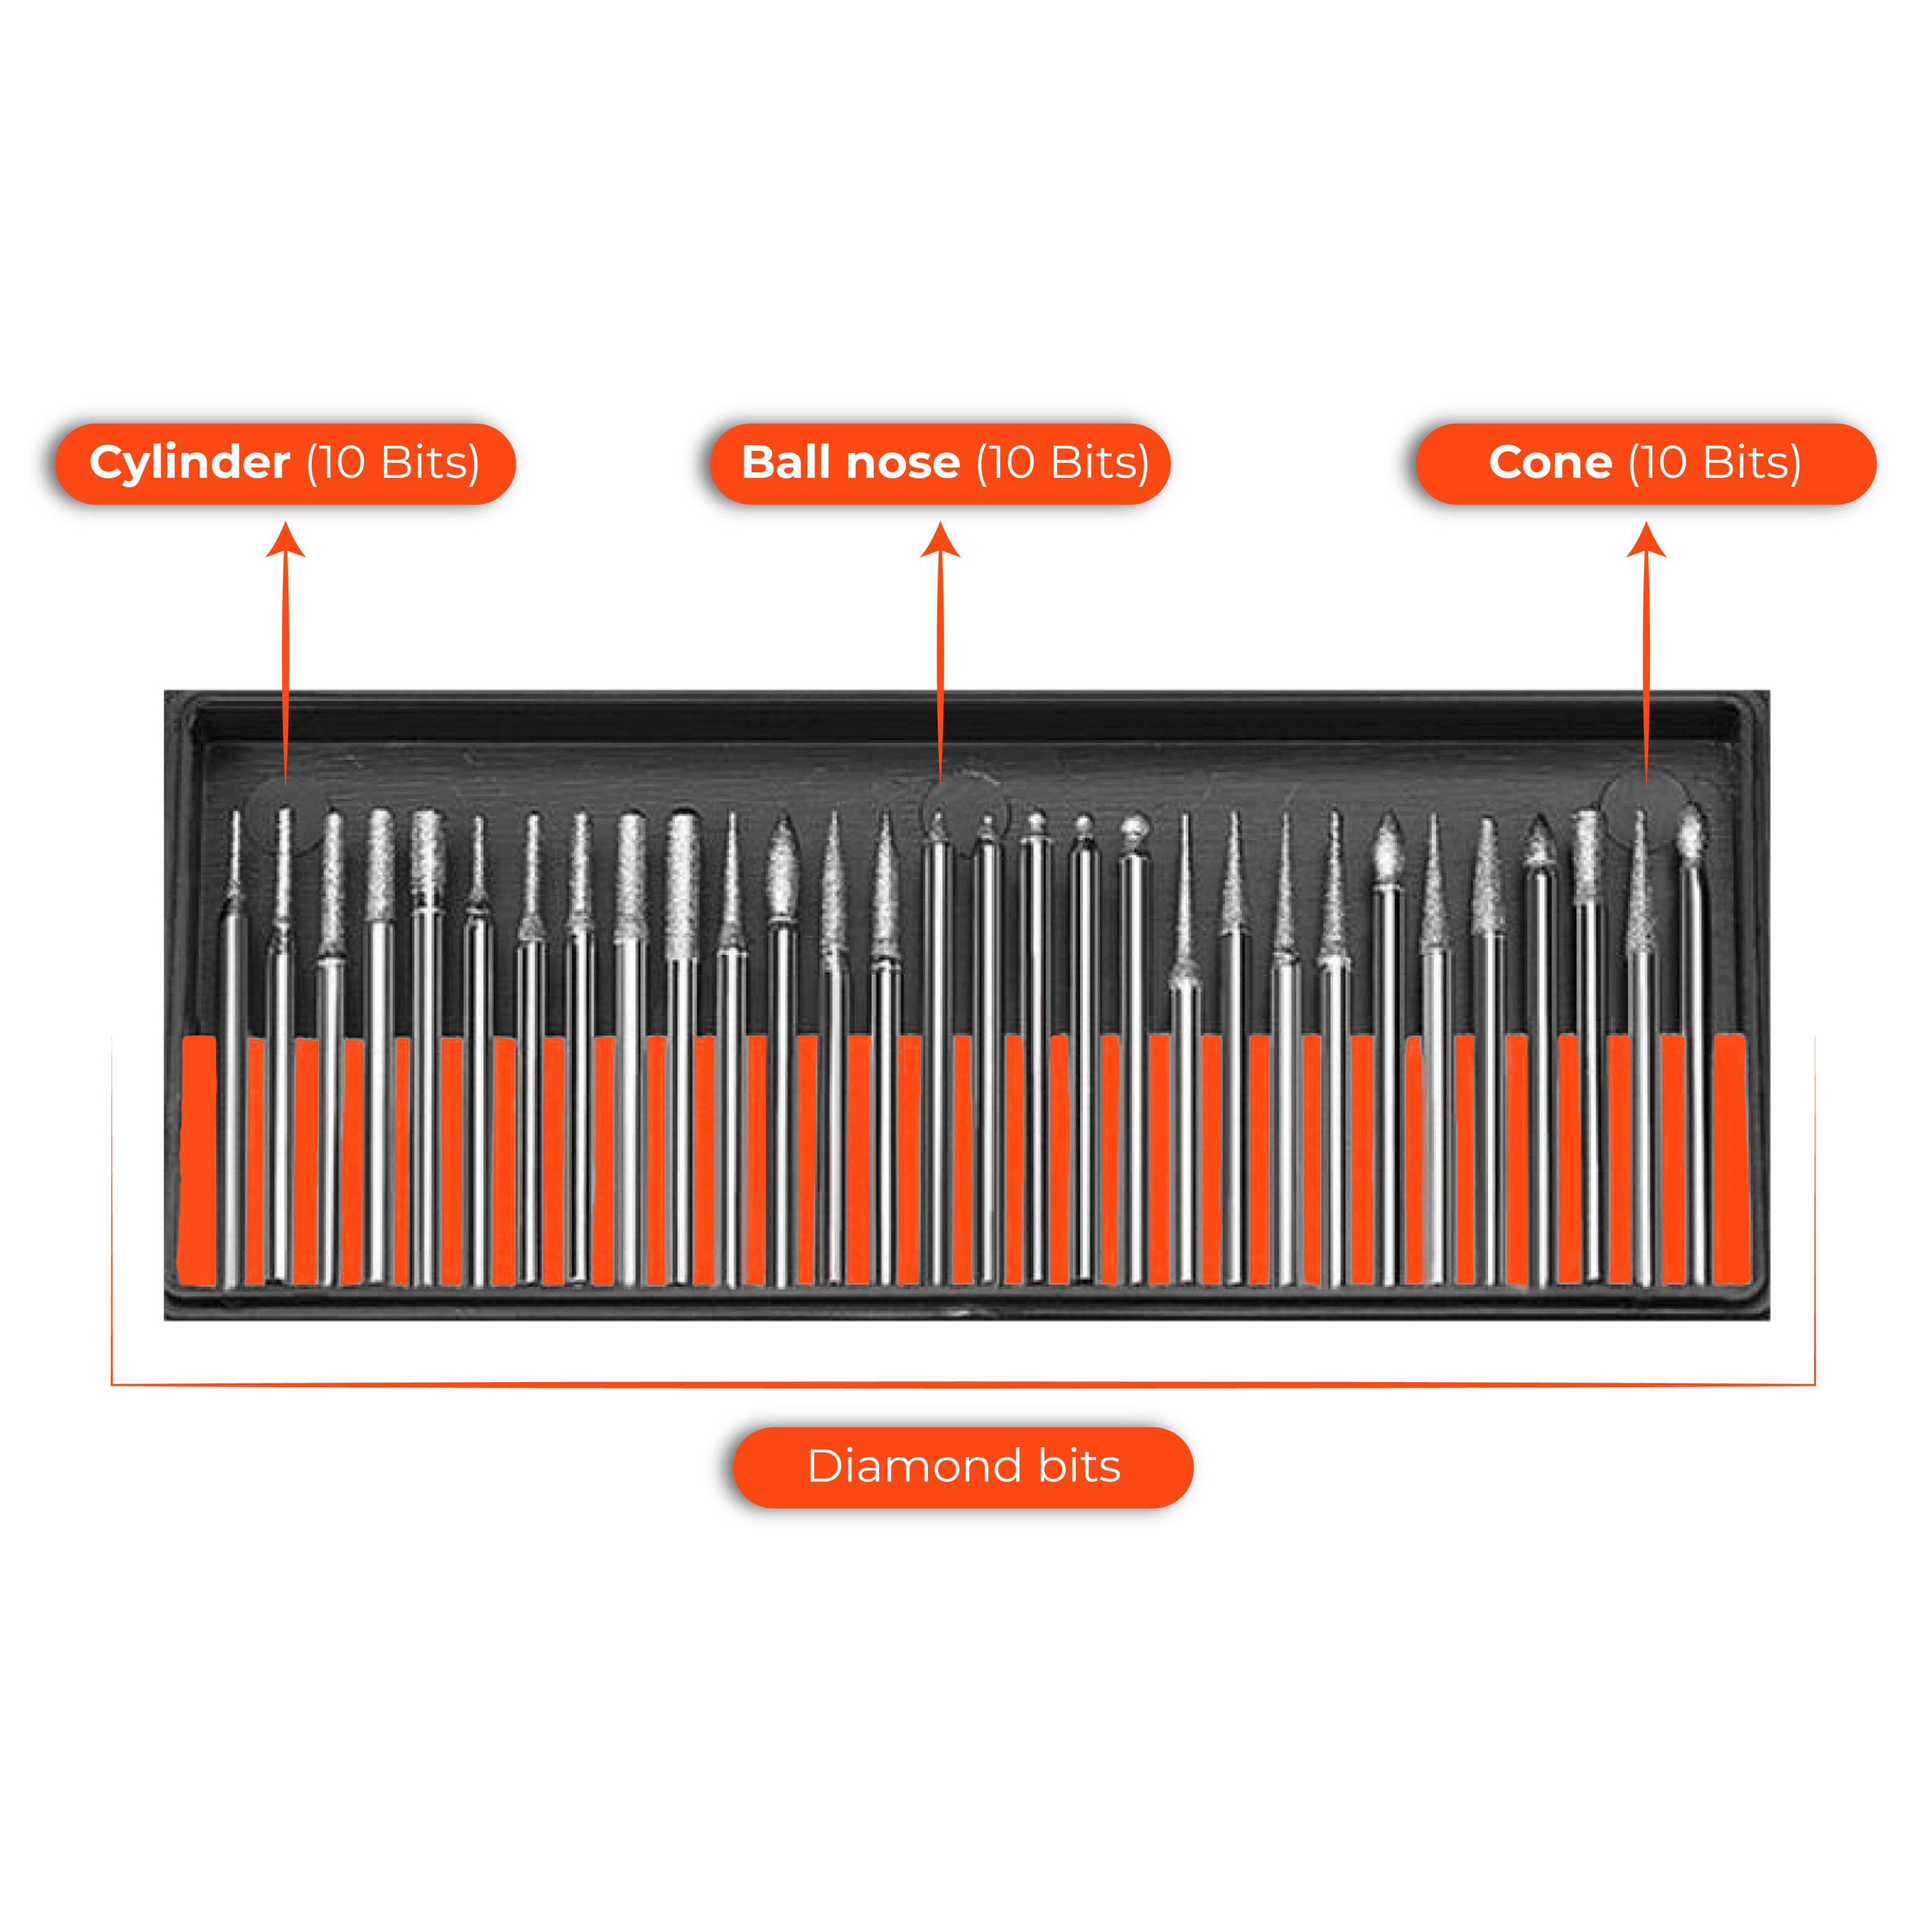
The Customizer comes with 30 diamond bits that will make your work more precise and detailed. Now, the next step is choosing the best bit for engraving the material you chose. Here’s a list of bits and what you can use them for.
THE 30-PIECE SET CONTAINS THREE DIFFERENT TYPES OF BITS
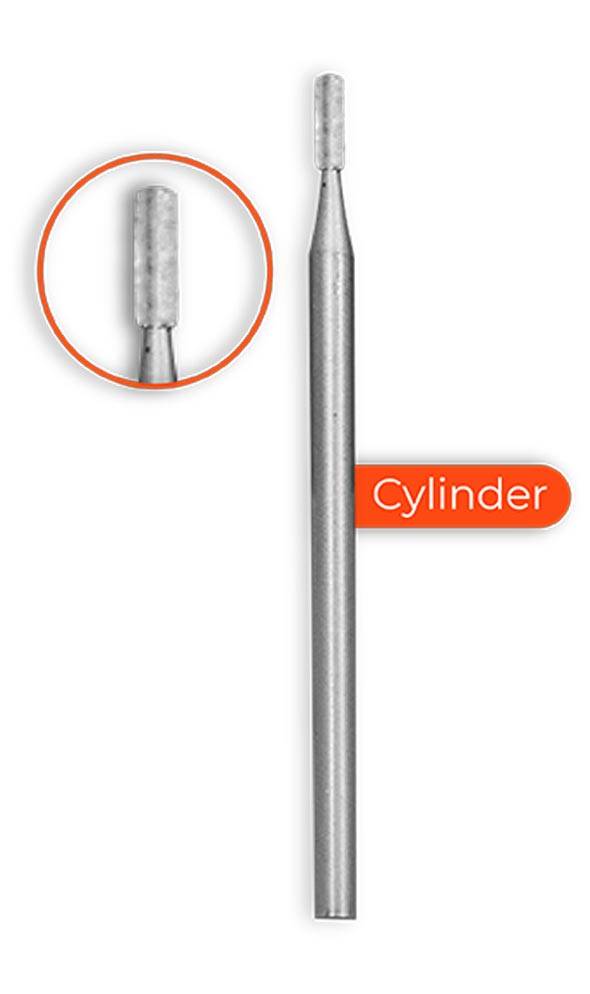 |
Cylinder bits are great for flat surfaces or 90° corners. Use the corner to notch out v-shaped cuts, to soften or to round over sharp edges. |
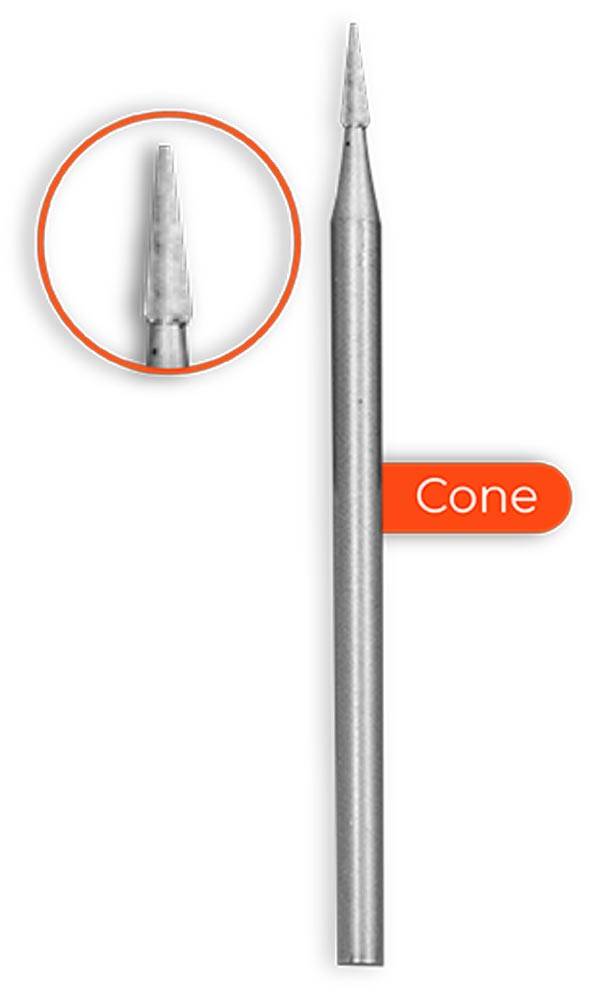
|
Cone bits come in many shapes and sizes. They produce angled and concave cuts. They are good for careful detailing and carving hard-to-reach areas. |
|
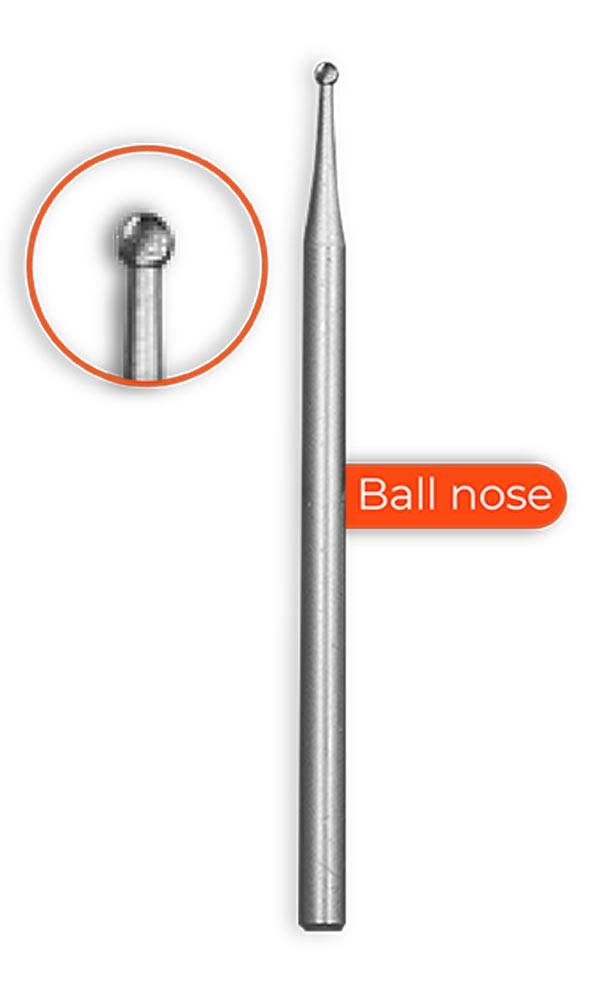 |
The flat sides of the ball nose bits are useful for rounding over an edge, and the rounded noses for producing a filet in a corner, hollowing out a concave area, or making radius-bottom grooves. They are also very handy for drawing. |
MORE BITS
Apart from the ones that come with the 30-piece set, there are many kinds of extra bits for the Customizer. It’s so versatile that you can use it not only as an engraver, but also as a grinder, sander, wire brush, polisher, carving or cut-off tool. Simply change the bit, and start working.
Carbide Burrs (for wood or soft materials): These are stronger than hardened steel bits, but not as much as the diamond ones. They cut and chip away the tooth structure rather than grinding, leaving a much smoother finished than diamond burs. Use them at medium speed o maximum depending on the material.
There are 3 kinds of bits in this set.
- Ball nose: Idea to work on wood or similar surfaces, to shape and cut concave perforations.
- Flat: Really useful to take out imperfections or get flat results.
- Cone and Flame: Perfect for angled, concave cuts. The conical tip shape works for detailing and carving hard-to-reach areas. You can make small holes, work with contours, and more.
- Cross-cut bur: They have more dents in the blade for a more efficient cutting process, working quicker due to less debris build-up.
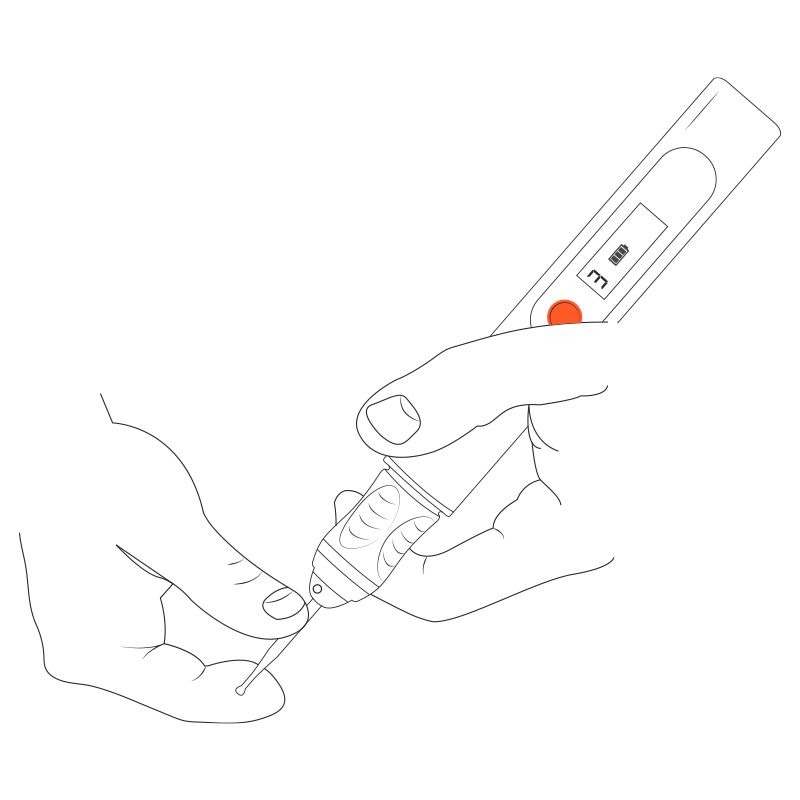
Now that you have selected the perfect bit, insert it in the collet and push gently so it gets firmly attached. When the engine starts, the internal mechanism will lock the bit automatically. This means that it’s not necessary to use the hex key to lock the bits, but for more safety, we recommend it. You can also use the hex key for heavier bits. Loose the Allen grub screw and insert the bit
Once everything is assembled, press the button to turn it on. The same button is used for switching between gears. On the display, you will see the gear indicator light. Each number indicates the rotary speed, 1 being the lowest, and 3 the highest. You can also check the charge condition of the battery on the display.
IT’S TIME. BUT FIRST…

- Wear safety glasses, gloves and a mask to protect your face and hands at all times.
- Always put the cap cover on the pen when you’re not using it. This will prevent your Customizer for breaking if it falls, and if you press the button by accident, it will be secure. It might break something if it starts and it’s not properly covered.
- Do not use the engraving pen while it’s charging because it could overheat.
- Keep your work area clean and well-lit.
- Pay extra attention to what you are doing, always stay alert.
SOME MORE TIPS…
- Try the engraving pen on spare pieces of material before working. This will allow you to get to know the tool and try different speeds and techniques to find the most adequate ones. Remember that practice makes perfect.
- You can engrave free-hand if you’re an experienced Customizer user, but if you’re not, don’t worry. Just prepare your design beforehand to have a pattern to follow.
- Secure the material with clamps so that it doesn’t move while you engrave.
- Take breaks now and then to cool down. You need it, but also does the Customizer.
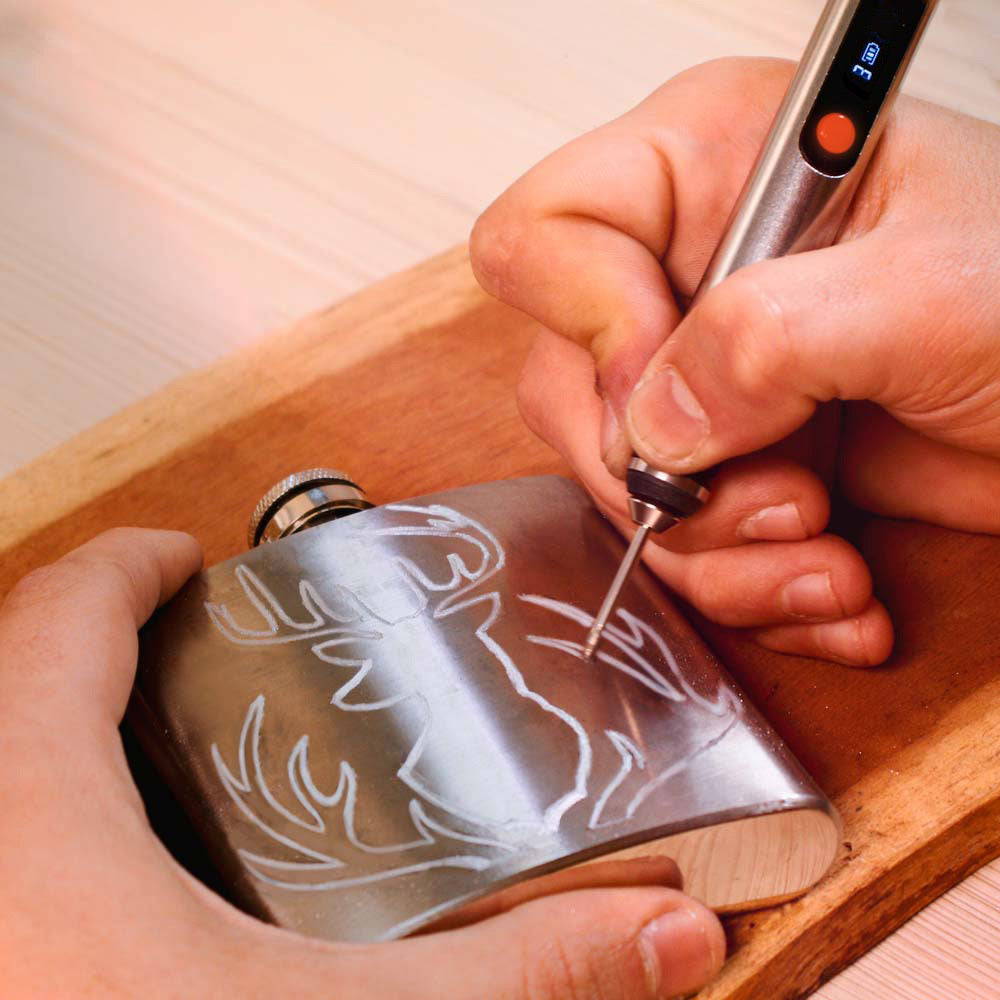
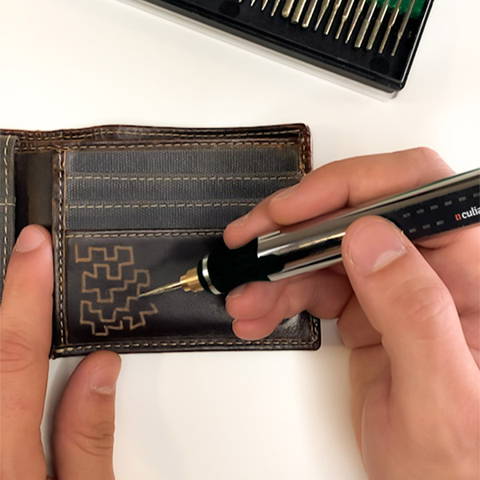
START CUSTOMIZING YOUR DIY PROJECTS
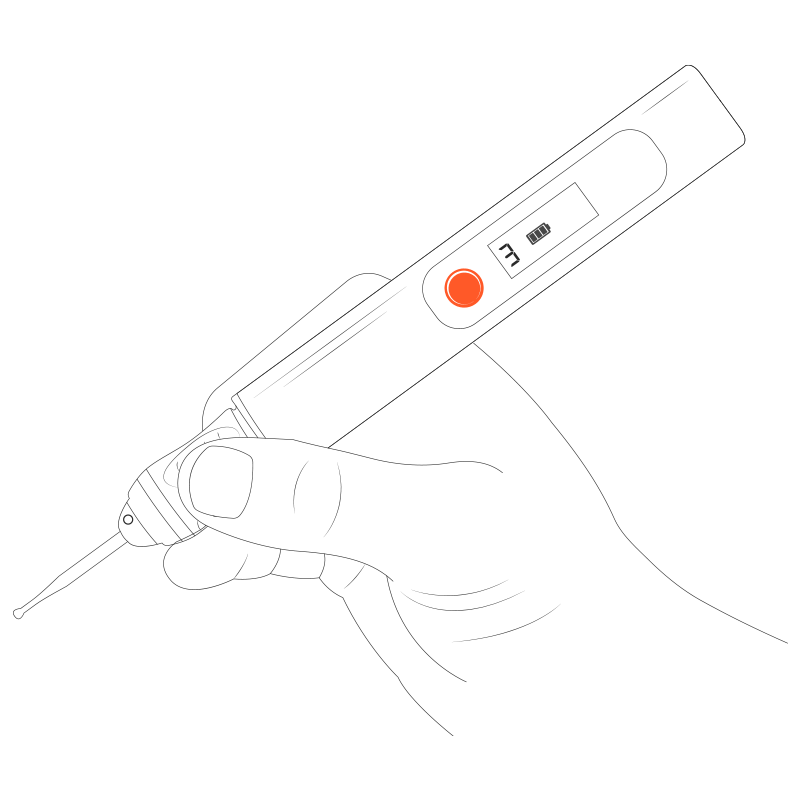
Everything’s set up now. Turn on your Customizer, choose the speed on the display, grab it as you would grab a pen, and that’s it. You’re ready to start!
Customizer is an outstanding engraving pen. DIYers and crafting experts everywhere choose it because it’s powerful, portable, long-lasting and versatile.
Now that you know how to use it, there are endless possibilities. Create works of art that will astonish everyone around you, and become the greatest artist you can be.
If you want to learn more, don’t miss our other blog posts.
How to engrave on Stainless Steal
And to help you find inspiration on this engraving journey, check our Social Media.


6 comments
I have a Fordom tool and love it, but; it is not portable. I carve gemstones and am looking forward to trying your product, to see if it holds up to the durability and power I need.
I absolutely love my engraving pen, your company, and your tutorials! Please keep them coming. 😊
I’m so pleased with my new customiser engraver…..I’m still practicing my technique before taking it to my arts and craft class to show my fellow students in the New Year term!
I’m sure I will have many enjoyable hours of profitable fun with this little beauty!!!
Lyn Green
It looks good, would like to try it.
Tutorials well done